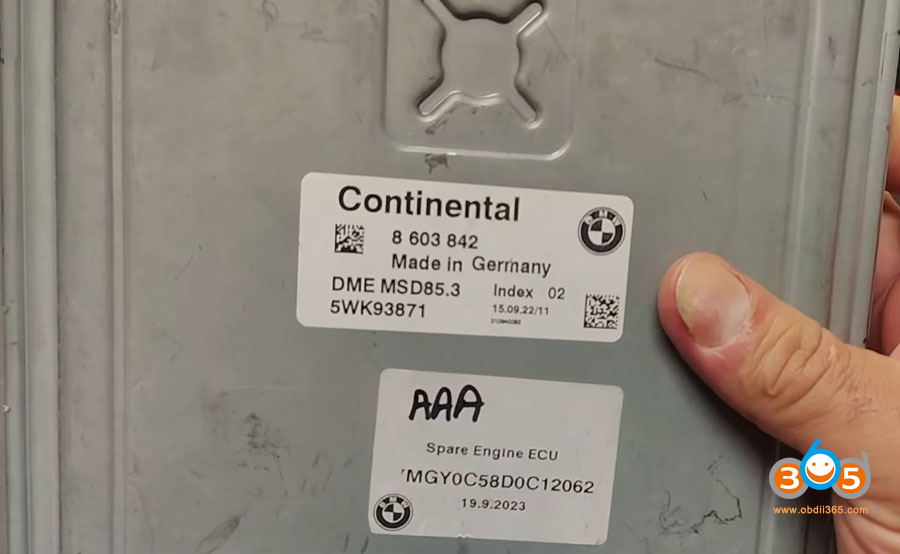
The goal was to clone a DME from a 2014 BMW X6 M (using the MSD85 module) for a customer who continued to experience misfires even after repairs. The solution? Clone its data—EEPROM (for security info like the ISN) and Flash (for calibration and operational data)—to a healthy donor unit.
Required Tools and Setup:
- LAUNCH X431 Tablet (here use Launch X431 Pro3s+ Elite, IMMO Plus, PAD, PRO5 and Pro3 series can do the same)
- X-prog3 Programmer
- External power supply is essential.
- Donor and Original DMEs: Both MSD85 variants.

Procedure:
1. Reading the Original DME
Go to IMMO Prog function, select DME type MDS85, check wiring diagram without MCU3 adapter.


How to connect Launch X431 with MDS85 DME via x-prog3?
The connection process was straightforward:
- The Launch tablet was connected via USB to its interface.
- The interface was linked to a dedicated programmer.
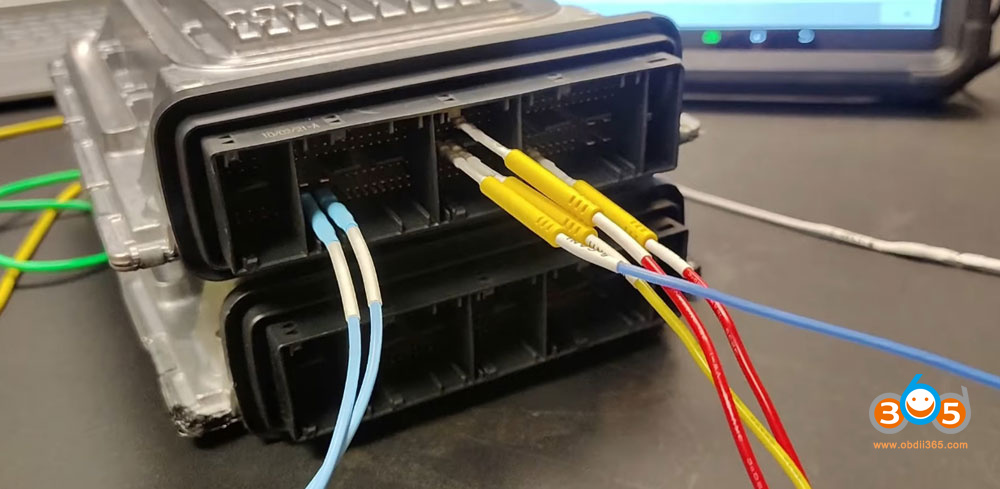
- A custom harness was used to connect the programmer to the DME, following the pinout diagram (involving two power, two ground, CAN High, and CAN Low wires).
- An external power supply was applied to the DME.


With a solid connection established, perform the first critical phase: reading the data from the original DME.
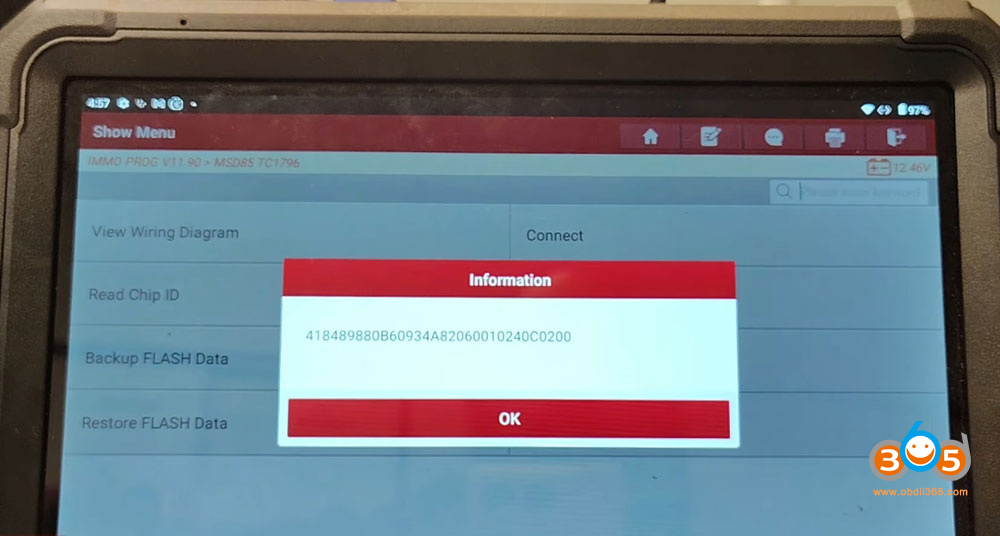
Connect ECU.
Read chip ID.
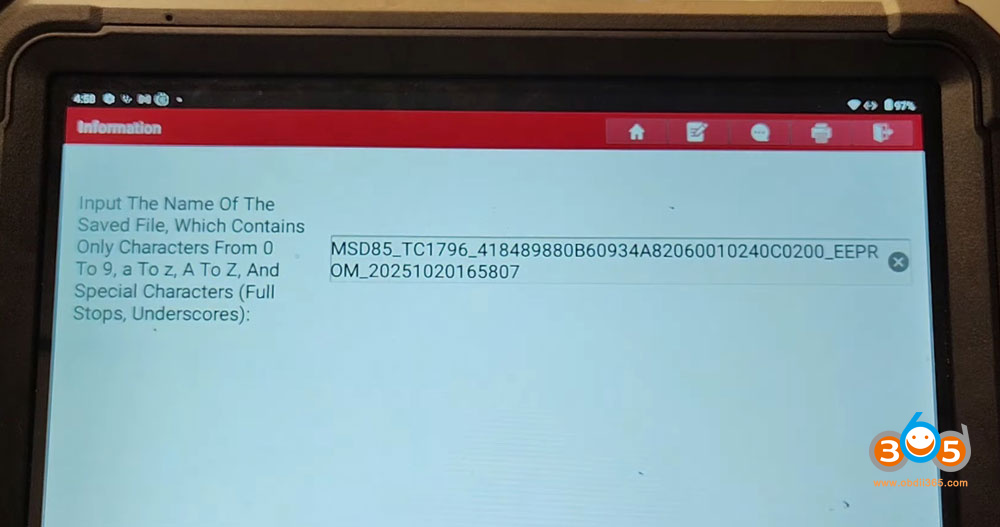
Reading the EPROM: This memory chip often contains vital security information, including the Immobilizer Security Code (ISN). The read was completed quickly and successfully.


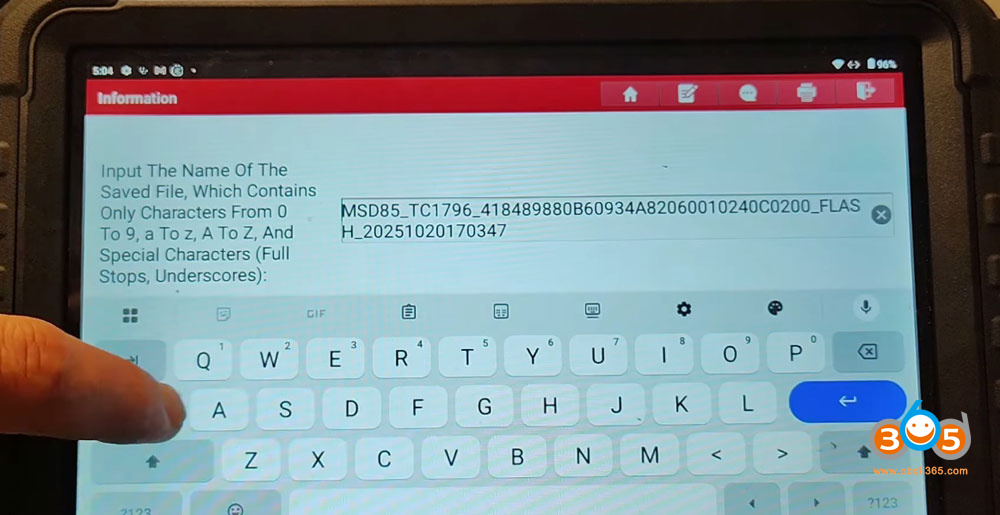
Reading the Flash: This contains the main software and calibration data for the engine. This read was also completed without any apparent errors.

Both datasets were saved to the tool. However, instead of immediately moving to the donor DME, we read both data again.
Tip: Perform multiple reads of both EEPROM and Flash. Save them with distinct names (e.g., “Original_EEPROM_1”, “Original_EEPROM_2”).
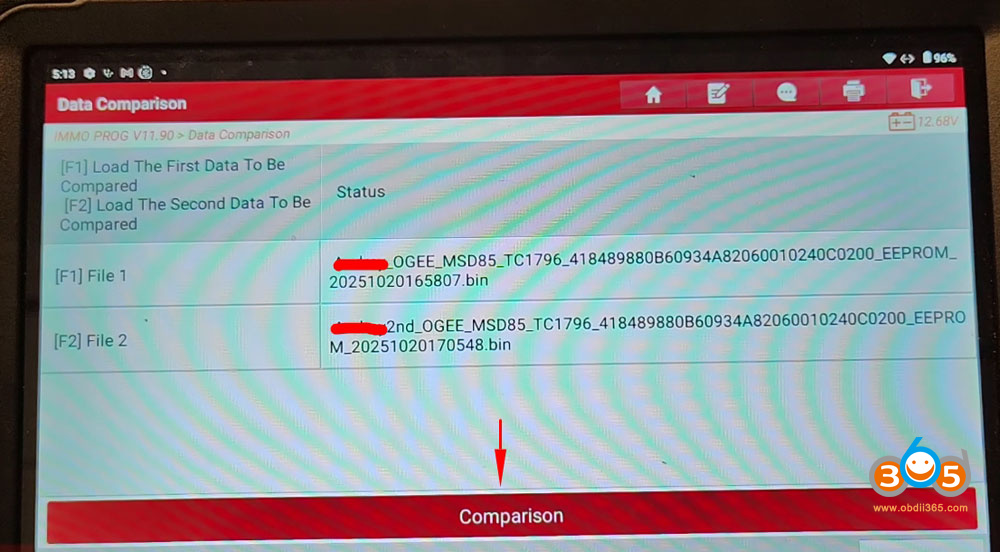
2. The Critical Verification Step: Data Comparison
To ensure the integrity of the read data, re-read both the EPROM and the Flash, saving them under different filenames. Then used a powerful, often underutilized feature in the Launch tool: the Data Comparison function.

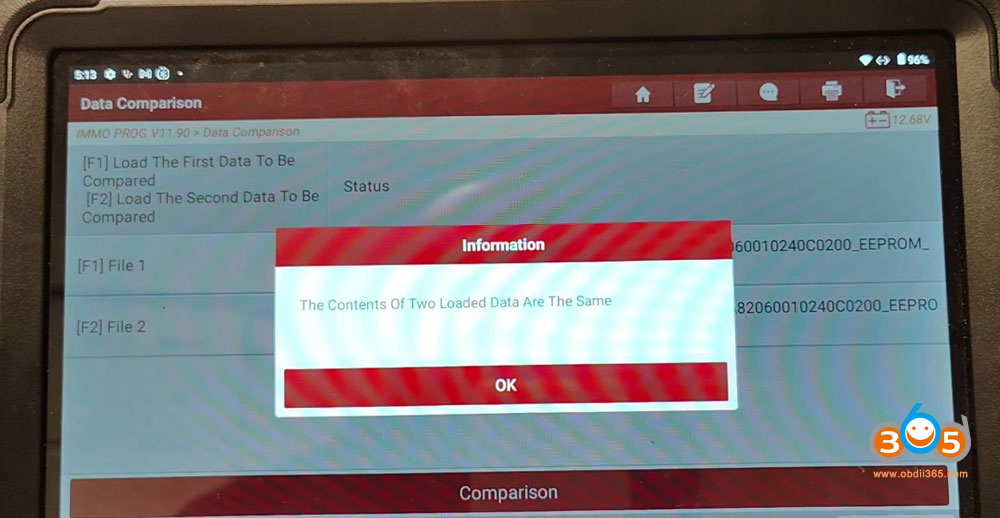
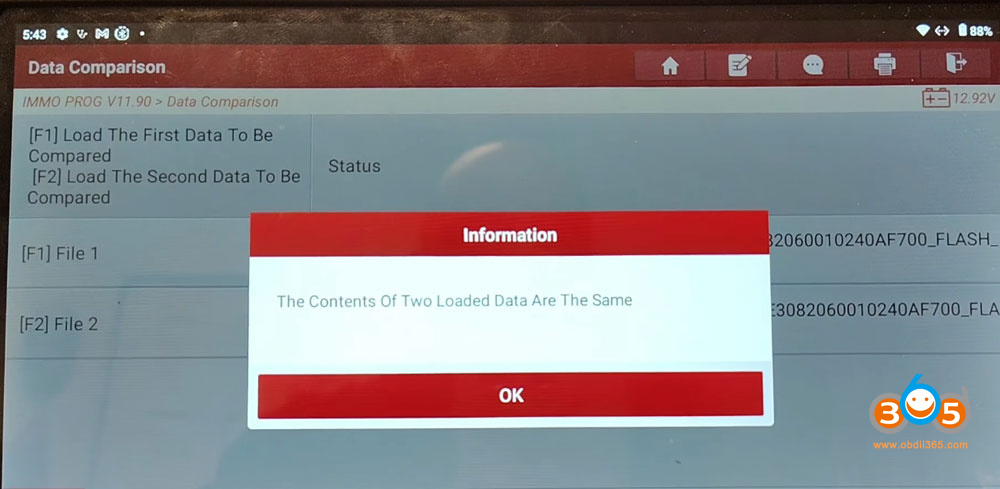
Comparing the EPROM Reads: The tool compared the first and second read of the EPROM and confirmed they were identical. This confirmed a stable and correct read, free from corruption.


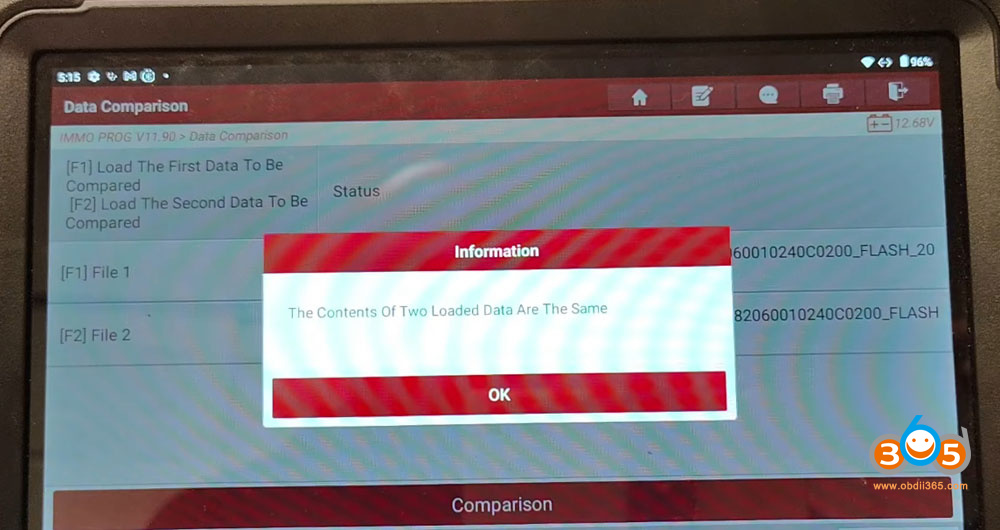
Comparing the Flash Reads: The same test was performed on the Flash data, with the same positive result.
This verification step provided confidence that the data saved was a perfect copy of the original, a feature notably absent in other tools like the OBDStar.

Disconnect original DME.
3. Writing to the Donor and the Final Check
The connections were moved to the donor DME. Backup EEPROM and Flash data of the donor DME.

Write original EEPROM and Flash data to the donor module.
Immediately after writing, perform a verification read—re-reading the newly written data from the donor DME.
This is where the most important comparison happens. Load the original read from the customer’s DME and compared it to the verification read from the donor DME.
EPROM Comparison: Perfect match. The security data was cloned successfully.

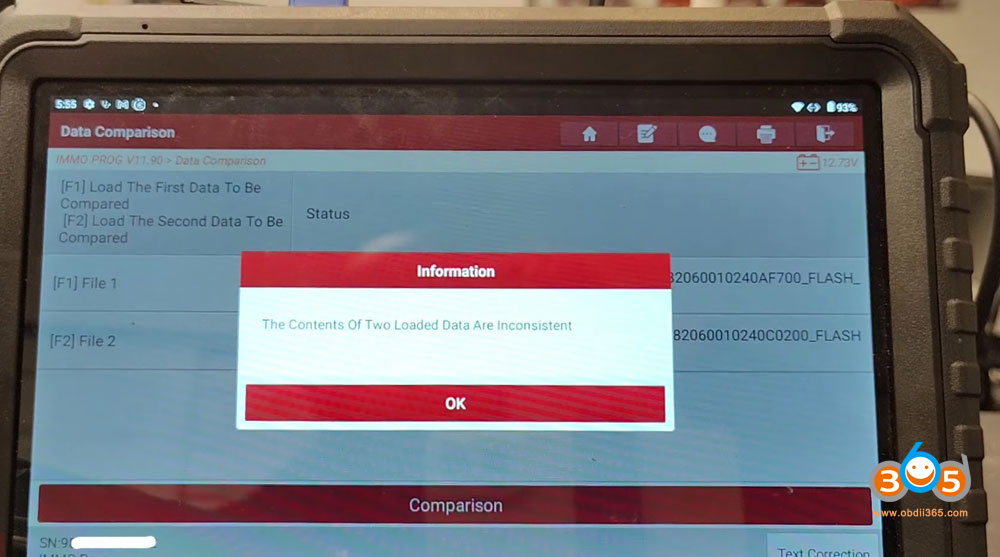
Flash Comparison: The tool flagged an inconsistency. A small, specific section of the Flash memory was different between the original and the donor.

Troubleshooting the Inconsistency and Tool Comparison
The inconsistency was concerning. To investigate,
Ruled out a random read error: perform a second verification read from the donor and compared the two verification reads. They were identical, proving the Launch tool was reading the written data consistently.

Analyzed the difference: By comparing the files, he identified that only a small, isolated block of the Flash memory differed. He theorized this could be a protected section on the donor DME’s chip that cannot be overwritten. Crucially, this section was unlikely to contain security-related data like the ISN, which is a long code spread across a larger memory area.

For context, attempts were made to connect with the OBDStar DC706 and Autel tools. The OBDStar failed to even establish a connection with the DME, while the Autel could not read the data. This underscored the value of having a reliable primary tool and the Launch’s unique data comparison feature.
Conclusion: Confidence Through Verification
The job was considered a success. The key takeaway is that cloning is not just about reading and writing data; it’s about verifying every step.
Verify Your Read: Ensure the data you pull from the original unit is consistent and uncorrupted by reading it twice and comparing.
Verify Your Write: After writing to the donor, read the data back and compare it byte-for-byte with the original source.
Understand the Tools: The Launch X431’s built-in data comparison feature provides a significant advantage, offering transparency and confidence that other tools lack. It can distinguish between a critical security mismatch and a benign, protected memory section.
By incorporating these verification steps, technicians can move from hoping a clone worked to knowing it did, reducing comebacks and building trust with customers, especially in mail-in repair scenarios where immediate rectification is not possible.
Comments
Post a Comment